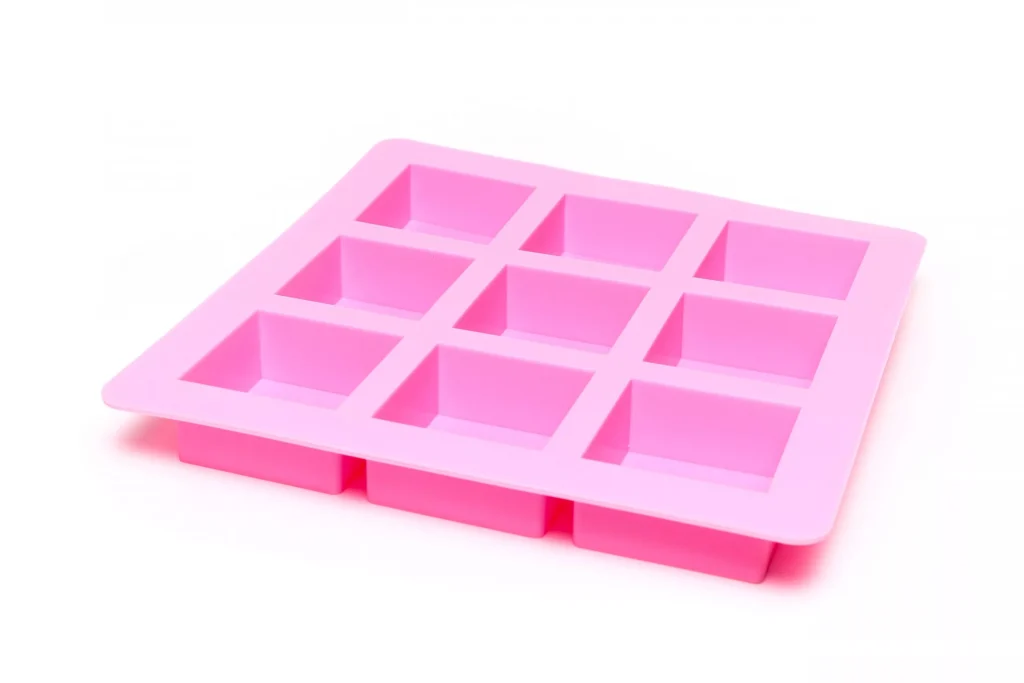
Did you recently come across someone making soaps, which piqued your interest right away? If the idea of soap making has crossed your mind, you are surely looking for the best plastic soap molds. It may not sound normal to you right now, but when you finally make one, you will realize just how big of an achievement it is to make a beautiful bar of soap.
Whether you’re seeking a fun hobby, saving money, or pursuing a new business venture, our step-by-step guide makes crafting spa products enjoyable and easy, perfect for hobbies, saving money, or starting a business. Explore 126+ recipes, from soaps to lotions, with our beginner-friendly Quick Start Guide. Ditch store-bought products with unknown chemicals and embrace personalized, high-quality creations that cater to allergies and sensitivities using The Handcrafter’s Companion.
There are all kinds of soap molds available these days. And choosing the right one has an impact on the final product. It also affects how enjoyable the entire process of soap making will be for you. Once you make the right plastic soap mold, you will realize that making your batches is quite easy. Below is a detailed guide on plastic mold making.
Are There Any Advantages To Plastic Soap Molds?

There are various benefits to using molds made out of plastic. These are mentioned below.
- Plastic is flexible and a material that is easy to work with. You can easily personalize the size of the soap mold.
- Since plastic molds are quite inexpensive, you can make several of them. In addition, you can save costs by making multiple soap pieces with the help of even a single mold.
- They are also lightweight and durable, making them a great option for travel.
- They also come in a variety of shapes and sizes so that you can find the perfect mold for your needs. In addition, plastic molds are easy to clean and store.
- Plastic molds are non-porous so that they won’t absorb the fragrance of your soap. This means that your soap will retain its scent for longer.
- The instructions you need to follow to make plastic molds are quite easy. Thus, you only need a couple of tools and no professional experience to create plastic soap molds.
What Do You Need To Make Plastic Soap Molds?
Before you can start creating your plastic soap molds, you need to gather all your materials. Plastic molds are quite common, which is why the materials required to make them can be found at many craft stores. Here is what you will need for these molds.
- Two pieces of craft plastic, 1.3 cm in size. They should be cut to a length of 12 by 4 inches.
- Two pieces of craft plastic, 1.3 cm in size. They should be cut to a size of 3 ½ by 4 inches in length.
- Clamps and glue for plastic.
- One piece of 1.3 cm of craft plastic. It should be trimmed to 3 ½ by 11 inches in length.
How Do You Make Plastic Soap Molds?
You can follow the simple steps below if you want to make your own plastic soap molds at home.
- Cut the wood down
You don’t need to find craft plastic in the same dimensions as your requirements. Thus, it would help if you had the pieces trimmed, perhaps by the professionals at the store you buy them from. However, if that option is not available to you, you can use a handsaw to cut it yourself.
- Create the required shape from the sides
After your plastic has been trimmed to the required dimensions, you can start assembling the soap mold. In order to begin, you will first need to assemble the pieces of the side to form the shape you desire. If you have followed the specifications above, you can just follow the simple steps below, which can be applied to any length of a rectangle plastic mold.
- Use the 12 by 4 inches pieces of wood to make the longer sides, whereas the plastic cut down to 3 ½ by 4 inches will be used for the relatively shorter sides.
- The larger pieces of plastic should have a line of glue along their shorter side.
- Next, the shorter pieces of plastic are to be placed between the longer ones.
- Use clamps to keep the plastic in place while the glue dries.
3. Glue the final piece
When the glue dries, and the clamps easily come off, you can place the bottom piece in place. The plastic part, which is 3 ½ by 11 inches, will easily fit below. Use some glue to keep this piece in place and use clamps once again.
- Let the mold dry
Now that the mold is ready, allow it ample time to dry. It is recommended that you leave it overnight before using it to ensure that everything is set in place.
- Make soaps!
When all has been done, it is time to get creative and use the plastic mold to make as many soaps as possible for yourself and your loved ones.
Are There Any Disadvantages To Plastic Soap Molds?
The disadvantage to using plastic soap molds is that they are not always sturdy. Consequently, the bars produced are not uniform or straight. But there are other disadvantages such as:
- Plastic (depending on the type) is not as durable as some other materials, so it is more likely to crack or break.
- In addition, plastic can sometimes give soaps an undesirable color or smell.
How Do You Make A PVC Soap Mold?
The detailed steps below can help you make a PVC soap mold yourself.
Step One
In order to make PVC soap molds, the materials you need are only a few and inexpensive.
- Wooden cutting board
- Funnel
- Plastic wrap
- Ladle
- PVC pipe
Step Two
Use wax paper, preferably of the heavy-duty kind, to cover one edge of the PVC pipe. To ensure that it stays in place, you will want to use a rubber band or masking tape. This will prevent any mess created by a runny soap from falling out from the bottom.
Step Three
Before you pour the soap into the soap mold, vertically position the pipe. Make sure that the edge wrapped in wax paper is firmly placed on the cutting board. Next, use a ladle to scoop the liquid soap into the pipe. Remember, do not fill to the brim. It is recommended that you leave at least 2 inches of space at the top.
Step Four
Now, you have to cover the entire pipe with plastic wrap and use a rubber band or tape to keep it in place. This will allow the soap to stay insulted at the time of the curing process. Further, wrap the pipe with additional towels for greater insulation.
Step Five
Feel free to remove the towels and the plastic wrap and slide your newly made soap from the pipe. Voila! You have your own soap made from a PVC soap mold.
With the detailed guide above, you cannot go wrong with making your own soap molds and soaps at home. The process is simple and easy to follow, but most importantly, it is cost-effective. Good luck!
